







How Do You Set a Manual Grinder for Pour-Over Coffee?
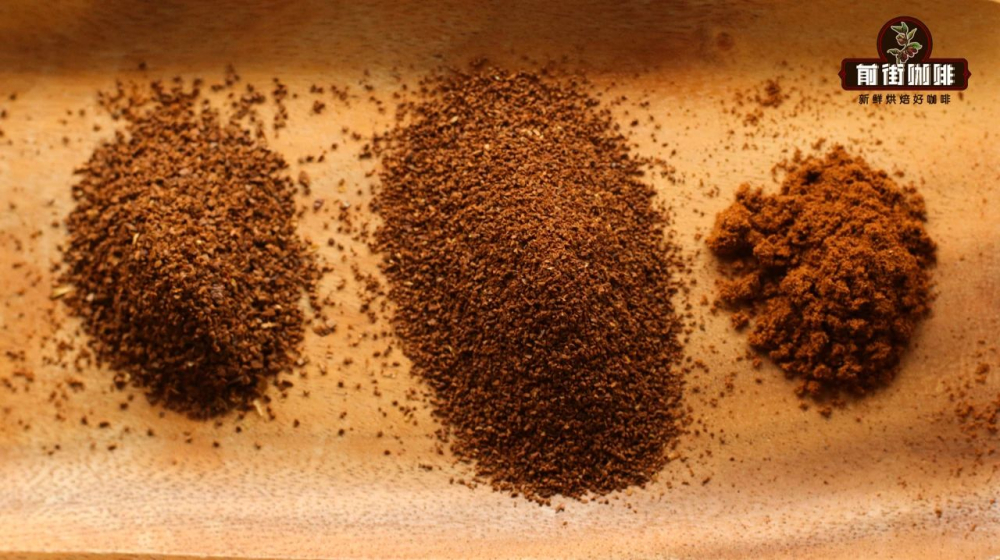
A manual grinder is adjusted by turning the coarseness screw: clockwise makes the coffee particles finer, counterclockwise makes them coarser. For pour-over, the target is a grind that feels like table sugar, and a 0.80mm standard sieve helps confirm it, since too many fines slow the drawdown and push the cup toward bitterness.
The handle assembly usually includes the coarseness adjustment screw, a check fixing ring, an A-shaped fixing screw, the handle and the main screw; some models must be partly disassembled before adjusting. Grind size is not fixed, so coffee-to-water ratio, water temperature and extraction time all need to shift with the bean and the brewing method you use.
The first step in pour-over coffee often begins with grinding, and manual grinders have become the choice of many enthusiasts due to their cost-effectiveness. But how should a manual grinder be used correctly? And to what degree should the coarseness be adjusted to be appropriate? In this article, Front Street Coffee will systematically explain the structural components, adjustment steps, and operating methods of manual grinders, and share how to use a 0.80mm standard sieve to judge whether the grind size for pour-over coffee is appropriate. At the same time, it will also sort out the grind coarseness patterns corresponding to different brewing methods, as well as the effects of key parameters such as coffee-to-water ratio, water temperature, and extraction time on flavor. Finally, using Panama Diamond Mountain coffee beans as an example, it will fully demonstrate a three-stage pour-over process to help readers master the coordination between grinding and brewing in practice.
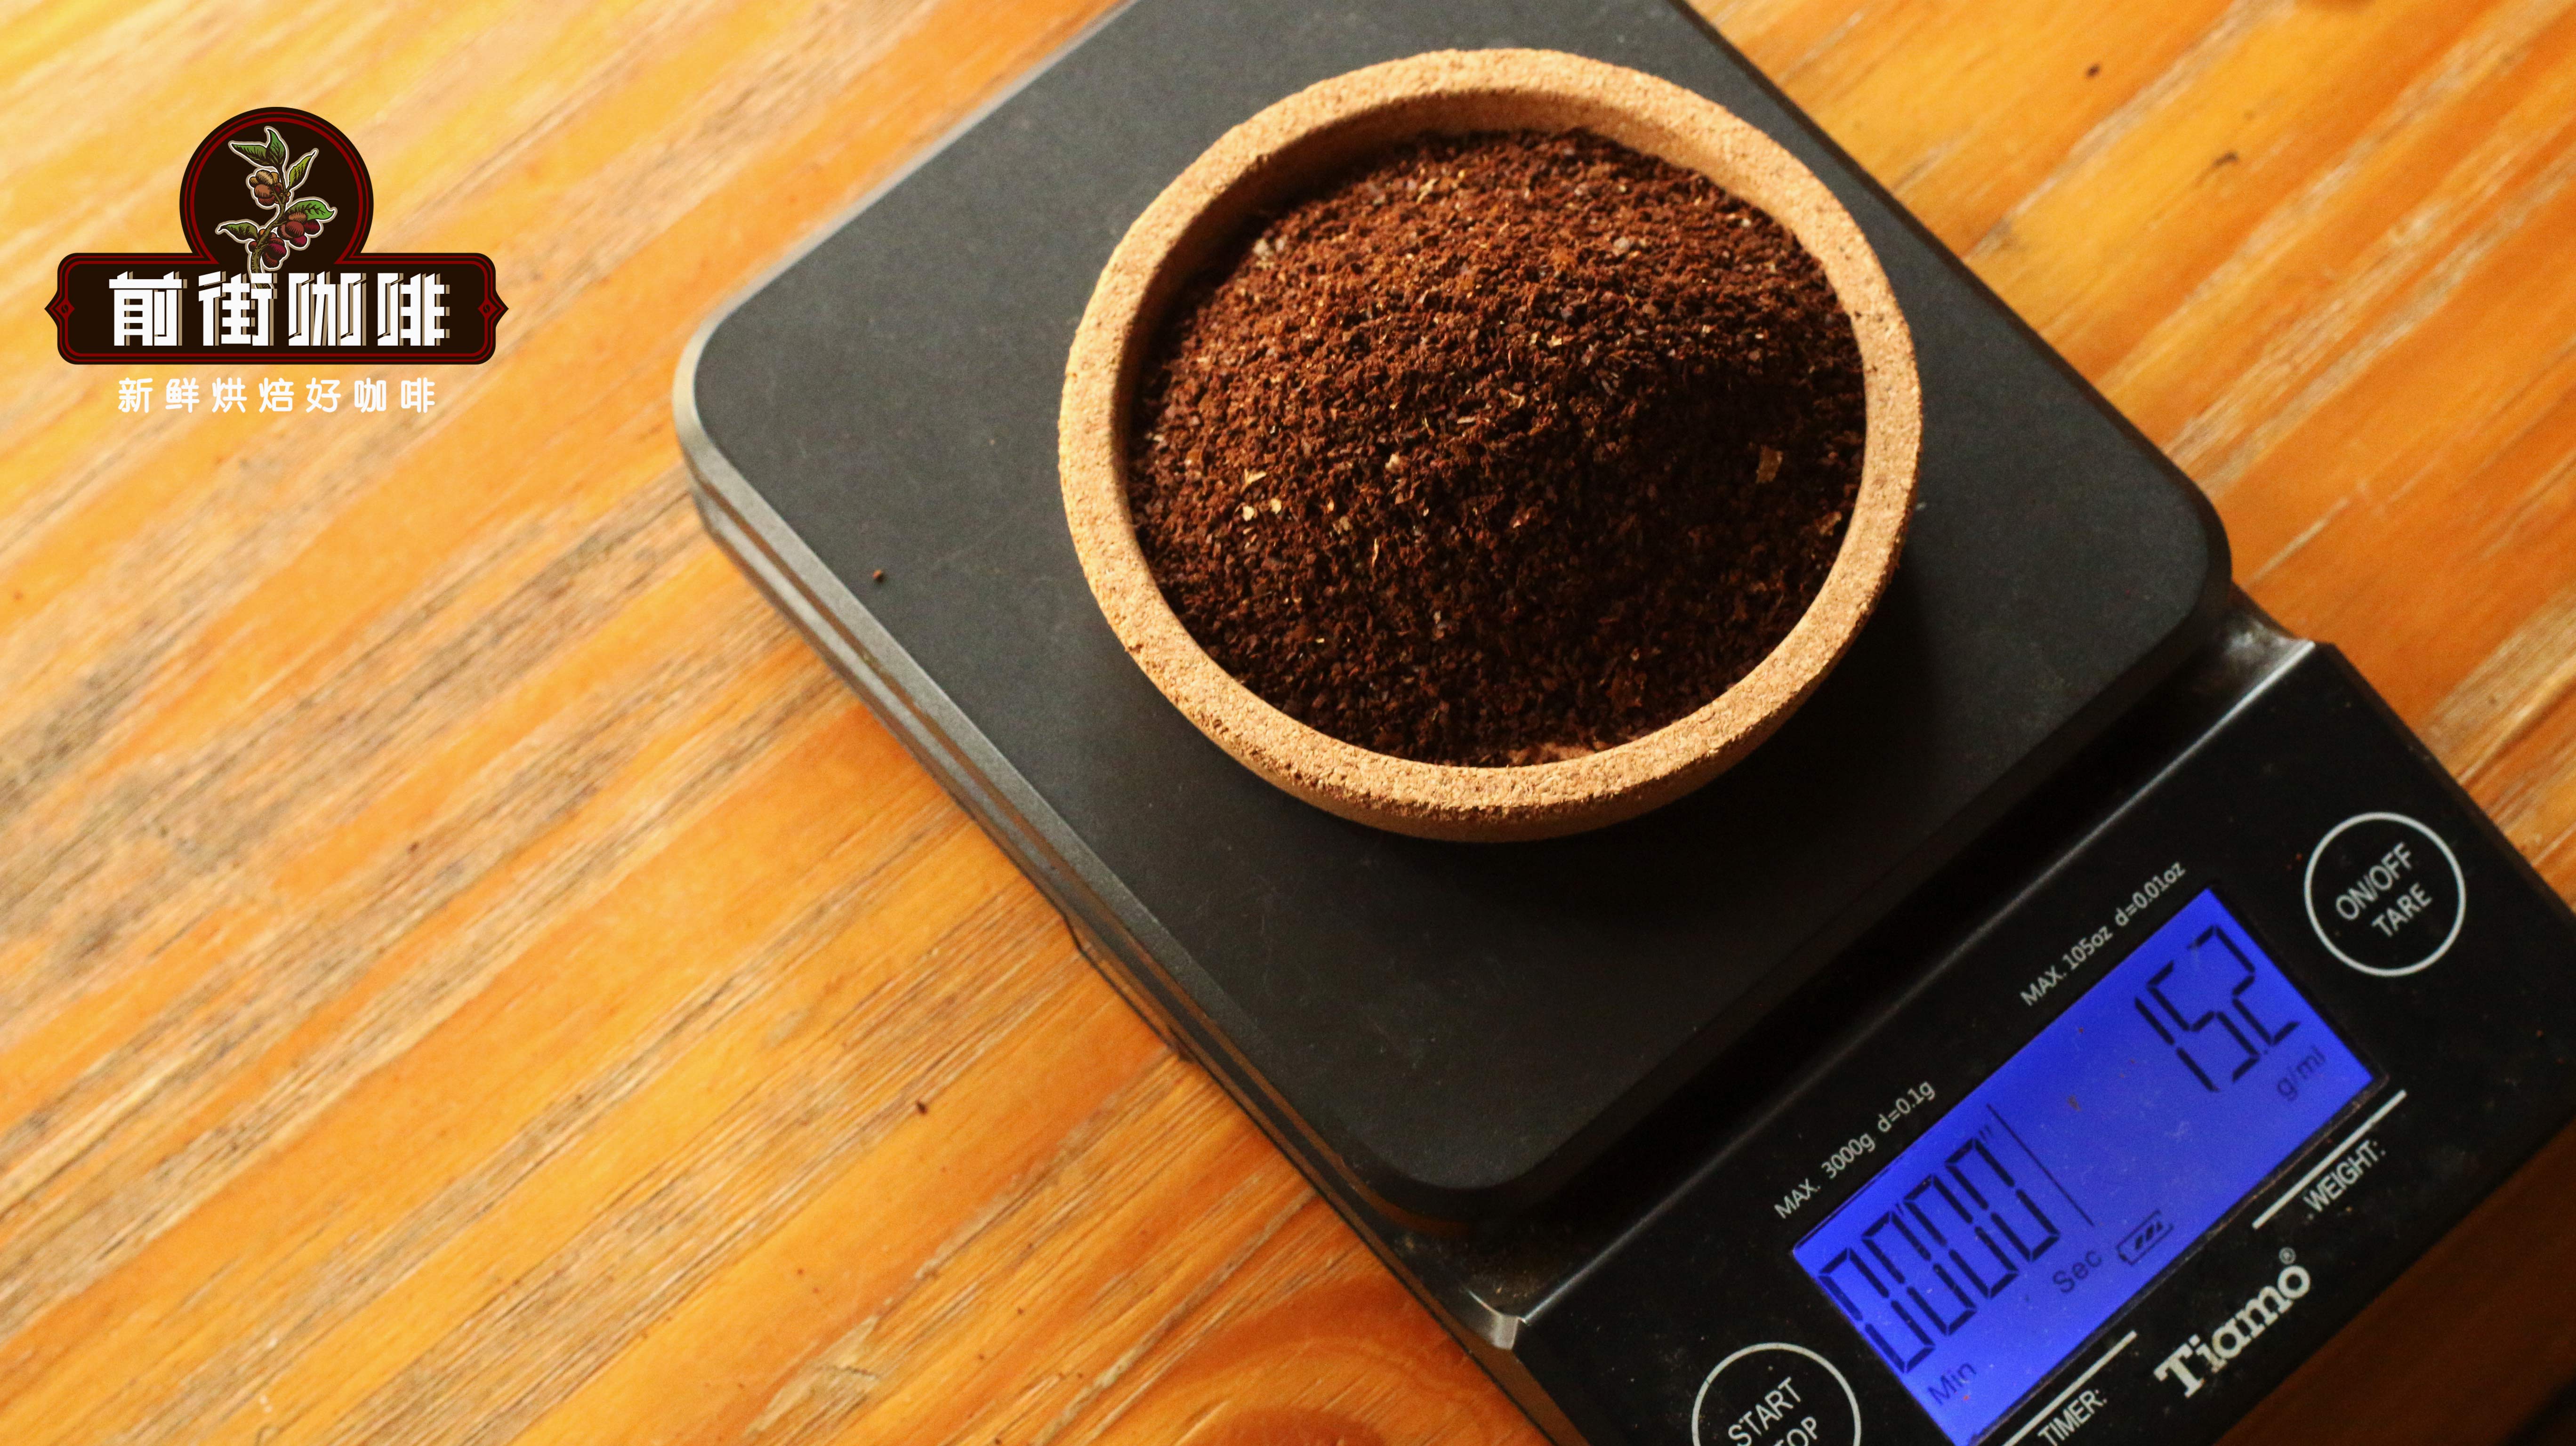
The grind coarseness of coffee beans is not fixed; different beans and different brewing methods all have different requirements for grind size. Pour-over coffee must have the beans ground into powder before brewing, so almost every coffee shop is equipped with an electric grinder. However, electric grinders are not cheap, so many coffee enthusiasts have turned their attention to manual grinders. So how exactly should a manual grinder be used? Front Street Coffee (FrontStreet Coffee) will talk with everyone today about the topic of manual grinders.
The handle part of a manual grinder usually consists of five components: the coarseness adjustment screw, the check fixing ring, the A-shaped coarseness adjustment fixing screw, the handle, and the main fixing screw. Different models have different structural designs. Some models require the above parts to be disassembled and separated before the coarseness adjustment screw can be adjusted, and then reassembled after adjustment; there are also models that can directly turn the coarseness adjustment screw. The operating principle is very simple: turn the coarseness adjustment screw clockwise, and the coffee powder ground will be finer; turn it counterclockwise, and the particles obtained will be coarser.
If using a rotary-wing electric grinder, to obtain uniform coffee particles, shaking the grinder up and down is the key technique. While observing the grinding process and state, grinding the coffee to the ideal degree of coarseness is very important. Once proficient enough in operation, one can judge the coarseness of the particles just by the sound made when shaking. The finer the particles, the softer the sound—this sounds like advertising copy, but the actual experience is indeed like this.
1. Unscrew the metal nut at the top of the manual coffee grinder.
2. Remove the crank handle from the manual coffee grinder.
3. Remove the fixed metal card above the manual grinder fineness adjustment screw.
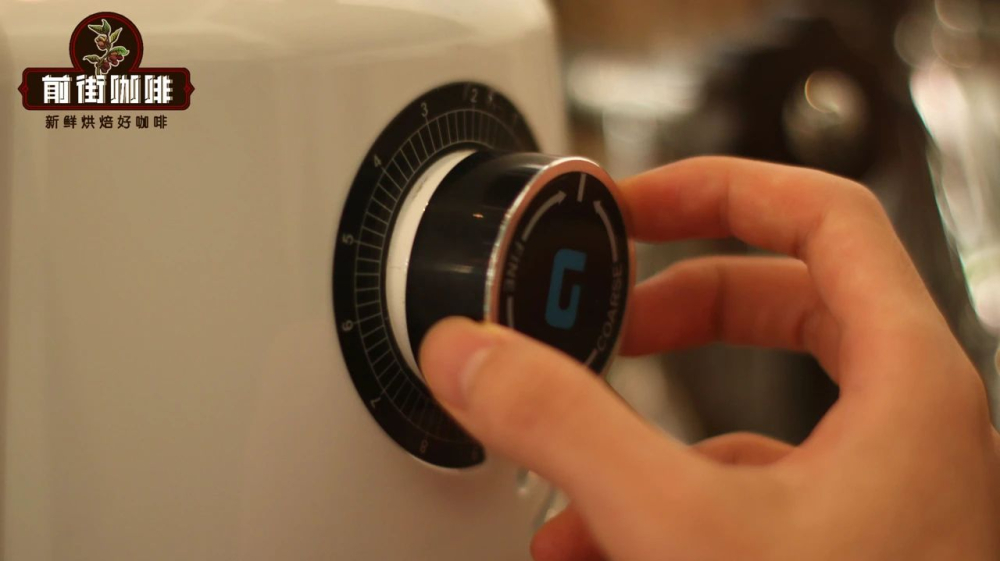
4. Pinch the fixed column in the middle of the manual coffee grinder tightly with your left hand so that it cannot rotate left or right, and turn the coarseness adjustment nut with your right hand. Turning the nut downward makes the grind finer; turning it upward makes the grind coarser. During adjustment, the rotating handle should be put back on from time to time, and a small amount of coffee beans should be ground for testing to observe whether the coarseness meets the requirement.
5. Reinstall the handle and tighten the nut above it again.
Once the grind coarseness is adjusted, you can start grinding the beans. A manual grinder can meet the needs of most pour-over coffee, but it is not suitable for making espresso. Espresso has extremely fine grind requirements and must use an espresso grinder. The grind size for pour-over coffee is coarser than that for espresso, and the specifics also depend on which beans are being brewed.
Front Street Coffee (FrontStreet Coffee) usually uses a medium degree of coarseness for pour-over coffee, one level coarser for siphon, and the coarsest grind corresponds to French press. Front Street Coffee (FrontStreet Coffee) has also summarized the relevant rules for the sieve passing rate of grind coarseness standards:
Cold drip > pour-over siphon 80% > moka American drip 75-80% > cupping 70-75% > French press 65-70%.
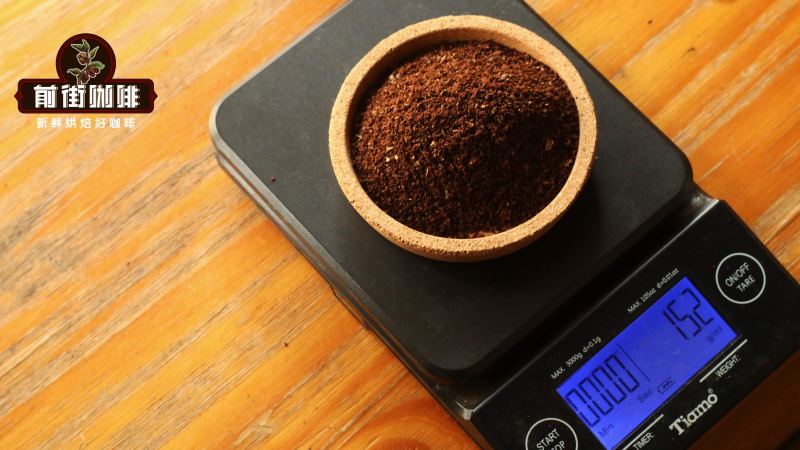
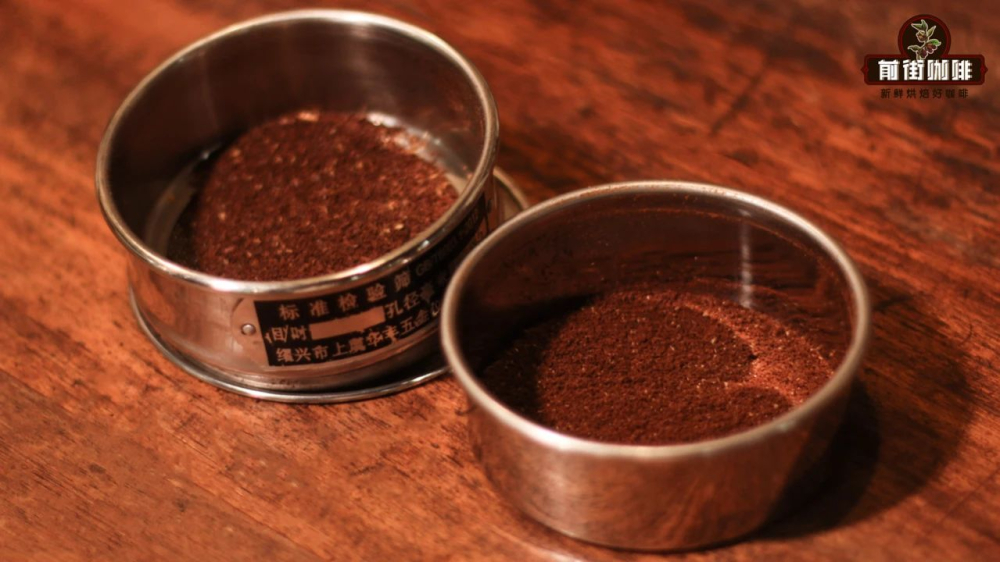
Taking the determination of the grind size for a new bean as an example, Front Street Coffee (FrontStreet Coffee)'s approach is to use a 0.80mm standard sieve; coffee particles with a diameter smaller than 0.80mm will pass through the sieve holes. First weigh 10 grams of coffee beans and grind them, pour the ground coffee powder onto the upper layer of the sieve, and after shaking repeatedly many times, particles smaller than 0.80mm will fall into the lower layer, then weigh the coffee powder in the lower layer. Front Street Coffee (FrontStreet Coffee) recommends a grind degree for pour-over coffee that is slightly finer than medium, with a sieve passing rate of about 80%, meaning that 10 grams of coffee beans should yield about 8 grams of coffee powder. This grind size can be used as the baseline grind size for pour-over.
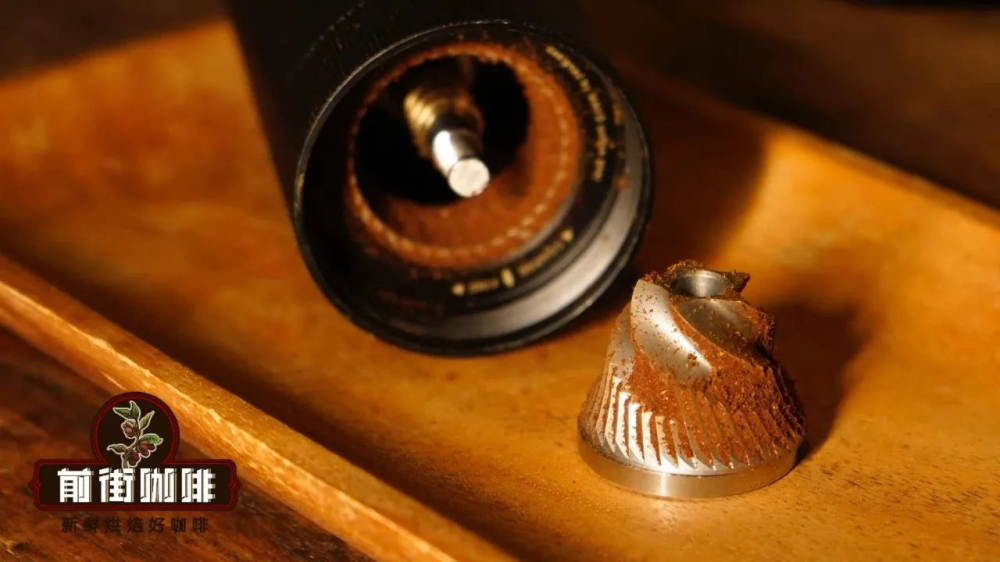
If the sifted coffee powder is less than 8 grams, it means the grind is too coarse and needs to be adjusted finer; if the sifted coffee powder is more than 8 grams, it means the grind is too fine and needs to be adjusted coarser.
Some people may find this process a bit cumbersome, but after becoming familiar with it, they can gradually get the hang of it. Pour-over coffee itself is a very meticulous task; the coffee-to-water ratio, grind size, water temperature, and extraction parameters all affect the flavor expression of the coffee, so the taste of the coffee brewed by each barista is slightly different, and even when brewing the same bean at home each time, the flavor may also vary.
For this reason, Front Street Coffee (FrontStreet Coffee), in long-term research, records and summarizes the grind size, water temperature, and brewing time for each coffee bean one by one. Taking the coffee-to-water ratio as an example, Front Street Coffee (FrontStreet Coffee) recommends a pour-over ratio range of 1:14 to 1:18, and currently uses 1:15 for production, that is, 15 grams of coffee powder with 225 grams of water. If the ratio is too high, the taste is weak; if the ratio is too low, the taste is strong.
Water temperature is also an important variable affecting pour-over. The higher the water temperature, the more flavor substances can be extracted; the lower the water temperature, the worse the extraction efficiency. Front Street Coffee (FrontStreet Coffee) chooses 90°C when brewing lighter-roasted coffee beans, and 88°C for darker-roasted beans. Extraction time refers to the duration from when the coffee powder contacts water to when the dripper is removed. The longer the coffee powder contacts water, the more substances are extracted; if the contact time is short, the taste is weak. Front Street Coffee (FrontStreet Coffee)'s brewing/extraction time is controlled at about 2 minutes.
Having said so much, next it is time to put it into practice. Front Street Coffee (FrontStreet Coffee) will explain using a Panama Diamond Mountain coffee bean as an example.
Front Street's brewing parameters are: Hario V60 dripper, 90°C water temperature, 15 grams of coffee powder, 1:15 coffee-to-water ratio. The pour-over method uses Front Street's simplest three-stage style. In the first stage, use 30g of water to fully wet the coffee bed so that it forms a "hamburger" shape, and let it bloom for 30s; in the second stage, at 54s on the timer, pour water until 125g, then stop and wait for the water level to drop to 2/3 of the coffee bed before pouring the third stage (this stage is to extract the sweet and sour flavor substances in the coffee powder); in the third stage, at 1'40" on the timer, pour water until 225g, with a total extraction time of 2'10". After extraction is complete, gently swirl, and once the coffee liquid is fully uniform, it is ready to taste.
This Diamond Mountain from Hacienda La Esmeralda in the Panama region has berry acidity as well as citrus and chocolate flavors, with rich layering and a smooth mouthfeel. Front Street believes that Panama's washed processing method has a clean and balanced mouthfeel, with bright acidity without losing caramel aroma.
The above content is compiled by CoffeeHunters, a coffee news website.


